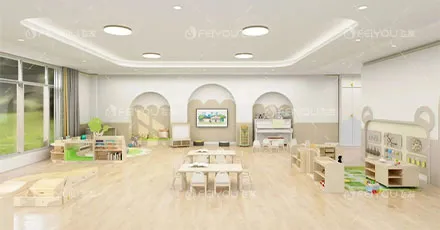
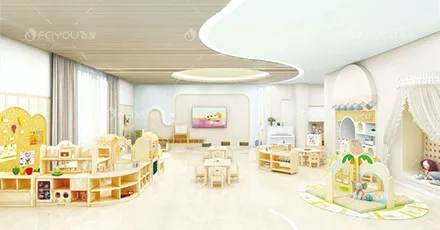
A well-designed classroom never feels chaotic — even when twenty children are engaged in twenty different activities. Step into such a space and you will notice something subtle but significant: children painting at the art table do not disturb children building blocks on the carpet. The reading corner stays calm while the dramatic play area buzzes with conversation. This is not accidental. It is the result of intentional learning zone planning.
Learning zones are distinct physical areas within a classroom, each designed for a specific type of activity. When planned thoughtfully, zones reduce behavioral conflicts, help children understand activity expectations, and allow teachers to supervise more effectively. This guide walks you through the principles of learning zone planning — from identifying which zones your program needs to arranging furniture and traffic patterns that make each zone function independently.
What Are Learning Zones — And Why Do They Matter in Early Childhood?
A learning zone is a physically defined area where a specific category of activity occurs. The zone signals to children what kind of behavior belongs there. A child entering the quiet reading zone instinctively lowers their voice; a child entering the block-building zone knows large-motor activity is welcome.
According to a 2019 environmental psychology study published in Early Childhood Research Quarterly, classrooms with clearly defined, consistently used learning zones showed approximately 45% fewer peer conflicts and 30% higher sustained engagement compared to open-plan rooms without zone distinctions.
Core learning zones commonly found in early childhood classrooms:
| Zone Type |
Primary Activity |
Typical Noise Level |
Typical Group Size |
| Quiet/Reading |
Book exploration, listening |
Low |
1–3 children |
| Art/Creative |
Drawing, painting, cutting |
Low to moderate |
2–4 children |
| Blocks/Construction |
Building, large-motor manipulation |
Moderate |
2–4 children |
| Dramatic Play |
Pretend play, social interaction |
Moderate to high |
2–5 children |
| Sensory |
Water, sand, rice play |
Low to moderate |
2–4 children |
| Manipulatives/Small Toys |
Puzzles, beads, sorting |
Low |
1–3 children |
| Group Gathering |
Circle time, instruction |
Variable |
Entire class |
| Teacher/Direct Instruction |
Guided activities, assessment |
Low |
1–4 children |
What this means for your program: You do not need all eight zones. Smaller classrooms may combine zones (e.g., manipulatives with quiet area during non-conflicting times). The key is intentionality — every area of your room should serve a defined purpose, not exist as “leftover space.”
For programs just beginning to think about classroom organization, understanding how classroom layout and age mix influence furniture decisions provides a helpful foundation before diving into specific zone configurations.
Zone Placement Principles — Which Zones Belong Next to Which?
Zone placement determines whether your layout supports or undermines learning. Adjacent zones must be compatible; incompatible zones placed side by side create constant friction.
Compatibility matrix for learning zones:
| Zone |
Compatible Neighbors |
Incompatible Neighbors |
Reason |
| Quiet/Reading |
Manipulatives, Teacher |
Blocks, Dramatic Play, Sensory |
Noise conflict |
| Blocks/Construction |
Dramatic Play, Sensory |
Quiet, Reading |
Noise level; space needs |
| Dramatic Play |
Blocks, Sensory |
Quiet, Teacher |
Noise; traffic volume |
| Art/Creative |
Manipulatives, Sensory |
Dramatic Play (wet activities near costumes) |
Mess transfer; cleanup |
| Sensory |
Art, Blocks |
Quiet, Reading |
Noise; water damage risk |
| Group Gathering |
Central to all |
None (if centrally located) |
Access requirement |
Four core placement strategies:
Strategy 1: The quiet-active gradient
Arrange zones from quietest to most active along a continuum. Example layout from left to right: Quiet Reading → Manipulatives → Art → Blocks → Dramatic Play. This creates natural transition — children moving from quiet to active zones pass through intermediate-noise areas, not abrupt changes.
Strategy 2: The wet-dry separation
Place water-based sensory activities (water table, painting) on washable floors (vinyl, tile) rather than carpet. If the entire room is carpeted, use waterproof mats under sensory and art zones.
Strategy 3: The high-traffic perimeter
High-movement zones (blocks, dramatic play) belong along walls, not in the center. This prevents active children from running through quieter zones to reach their desired activity area.
Strategy 4: The teacher sightline priority
Position the quiet zone and manipulatives zone where the teacher can observe them while seated. Position dramatic play and blocks where the teacher can see them while standing but may need to move closer periodically.
A 2021 classroom design guide from Child Care Aware of America emphasizes that successful zone placement reduces teacher intervention needs by approximately 30–40% because children self-select activities without entering inappropriate zones.
What this means for your program: Before moving any furniture, draw your room to scale. Mark windows, doors, sinks, electrical outlets, and carpet edges. Then test zone placements on paper — not in the room — to identify conflicts before physical work begins.
Physical Boundaries — Defining Zones Without Walls
In early childhood classrooms, permanent walls rarely separate learning zones. Instead, teachers use furniture, rugs, and visual cues to define boundaries. The goal is clear enough that children understand where one zone ends and another begins — without blocking teacher sightlines.
Effective zone boundary methods:
| Boundary Type |
Best For |
Minimum Height |
Sightline Impact |
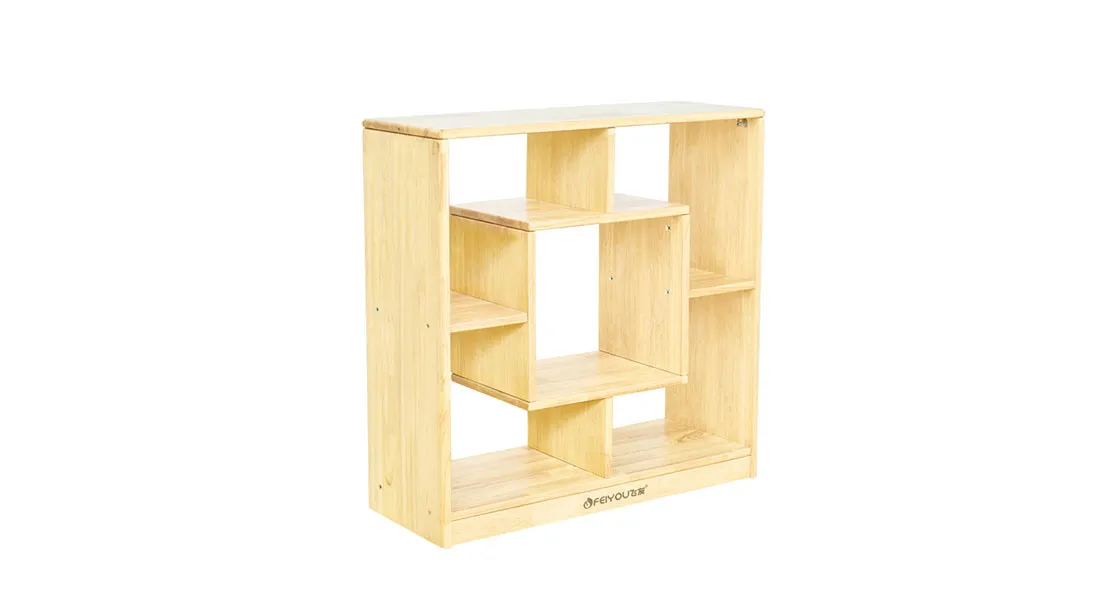
| Low shelving (open) |
Separating adjacent zones |
24–30 inches |
None — see over |
| Area rugs |
Defining floor space |
N/A |
None |
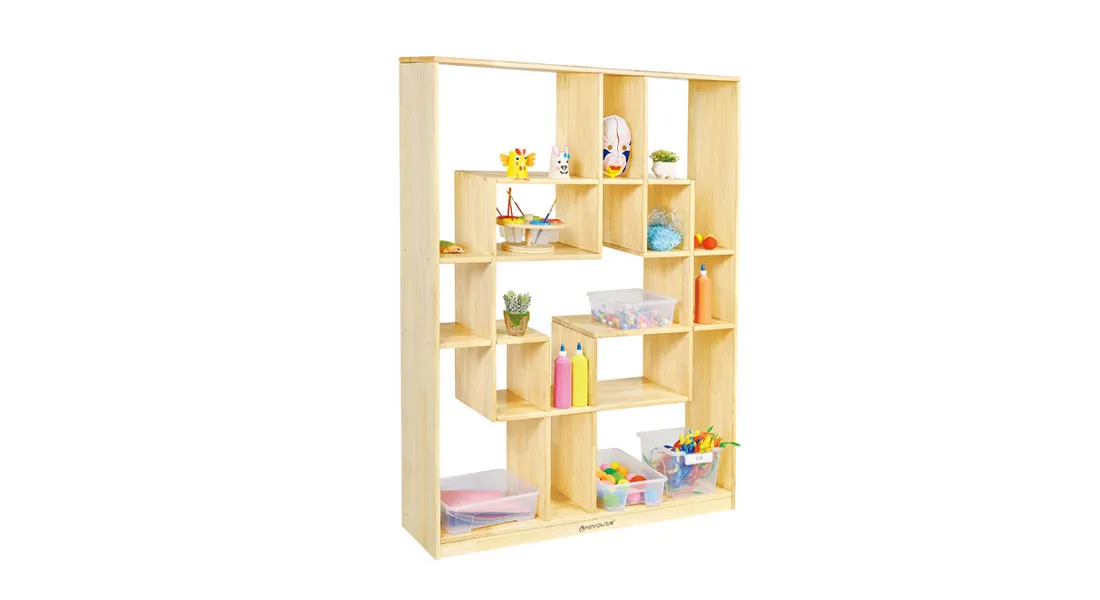
| Back-to-back shelving |
Creating distinct rooms |
36–48 inches |
Partial — may block seated views |
| Soft seating (benches, cushions) |
Transition zones |
12–18 inches |
None |
| Floor tape or carpet lines |
Visual boundary without physical barrier |
N/A |
None |
| Ceiling-hung fabric or banners |
Flexible, removable boundaries |
60–72 inches |
Minimal |
Critical boundary guideline for mixed-age classrooms:
Children under 3 years require visible boundaries they can see without looking up. Low shelving (under 30 inches) works well. Children over 3 years can understand floor tape lines or rug edges as boundaries — but only after explicit teaching.
According to CPSC guidelines for early childhood facilities, any shelving used as a boundary must be anchored to prevent tipping if a child climbs it. This applies regardless of shelf height or stated “stability.”
What this means for your program: Start with the lowest boundaries that achieve zone definition. Low open shelving (24 inches) defines zones while allowing full teacher sightlines. Reserve tall shelving (over 48 inches) for walls only — never as freestanding boundaries.
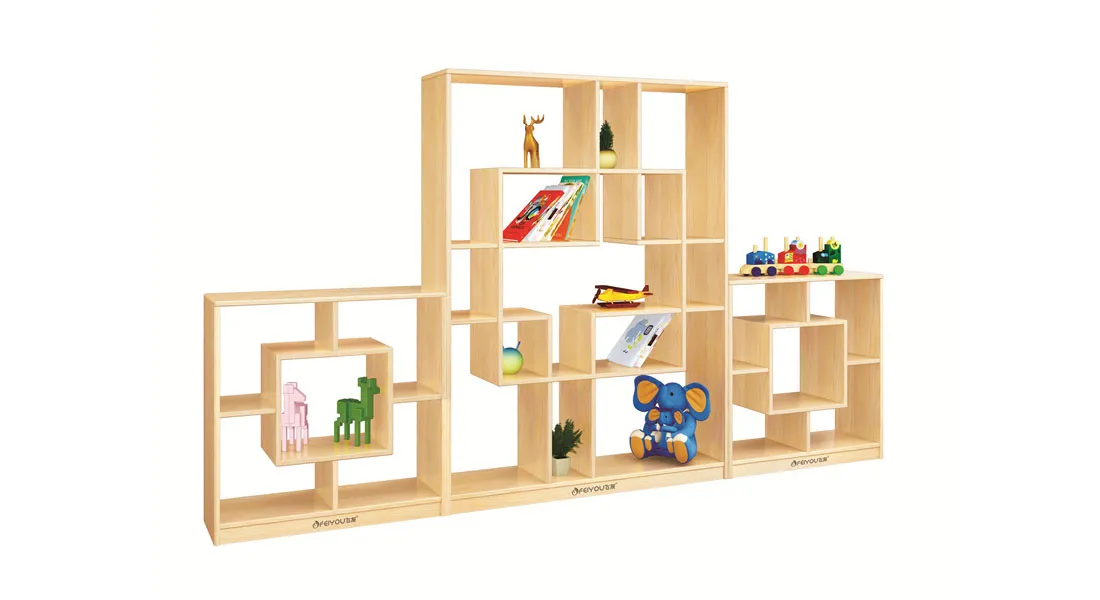
For classrooms needing flexible boundaries that can be reconfigured as children’s needs change, exploring furniture collections with modular shelving and movable storage units offers practical solutions for dynamic learning environments.
Zone-Specific Furniture and Storage Guidelines
Each learning zone has unique furniture and storage requirements. The following guidelines apply to children aged 2–6 years in typical early childhood settings.
Quiet/Reading Zone:
-
Seating: Soft seating (beanbags, floor cushions, small upholstered chairs) at 6–8 inch seat height
-
Storage: Front-facing book display shelves at 20–30 inches high; board book bins on floor
-
Surface area: No tables required; floor space for spreading books
-
Lighting: Natural light preferred; add table lamp or floor lamp for cozy feel
-
Capacity: 2–4 children; approximately 40–60 square feet
Art/Creative Zone:
-
Seating: 2–4 chairs at appropriate height for your table (see table height formula below)
-
Table: 20–22 inch height for 3–5 year olds; surface area at least 24×36 inches
-
Storage: Open shelves at 24–36 inches for supplies; drying rack nearby
-
Floor surface: Washable (vinyl, tile) or covered with waterproof mat
-
Cleanup: Sink access within 10 feet or water tub available
Blocks/Construction Zone:
-
Seating: Floor-based; no chairs needed
-
Surface: Large carpet or rug (at least 5×6 feet) for noise reduction
-
Storage: Low open shelves (12–20 inches) for block types; labeled by shape
-
Floor clearance: 24 inches clear in front of shelves for access
-
Capacity: 2–4 children; approximately 60–80 square feet
Dramatic Play Zone:
-
Seating: Child-sized table and chairs (18–20 inch table height); optional
-
Storage: Wardrobe or clothing rack at 36–40 inches; bins for props on low shelves
-
Surface: Rug defines area; mirror at child height (36–40 inches to center)
-
Flexibility: Open floor space (at least 6×6 feet) for movement
-
Access: Near blocks zone (compatible) but away from quiet zone
The chair-to-table relationship formula for all seated zones:
Table height = Seat height + (7 to 8 inches)
For example, a 9-inch chair requires a table between 16 and 17 inches. Always verify fit before purchasing multiple units.
What this means for your program: Purchase zone furniture based on activity needs, not aesthetics alone. A beautiful reading corner with no soft seating will not be used for reading. A block area with insufficient floor space will create conflict regardless of how many blocks you own.
Transitions Between Zones — Supporting Movement and Reset
Even the best zone plan fails if children cannot move between zones smoothly — and if zones do not return to a neutral state between uses.
Supporting smooth movement:
-
Primary aisles: Minimum 48 inches wide to accommodate two children passing plus one adult
-
Secondary aisles: Minimum 36 inches wide between zone boundaries
-
Transition zones: Small “waiting” areas (a bench, two floor cushions) where children can pause before entering a full zone
-
Visual cues: Floor arrows or colored tape lines showing traffic direction (effective for children over 3.5 years)
Supporting zone reset:
Each zone requires a predictable “reset routine” that children learn and follow. For example:
| Zone |
Reset Routine |
Time Required |
| Art |
Wipe table, return supplies to labeled shelves, hang apron |
2–3 minutes |
| Blocks |
Sort blocks by shape onto labeled shelves |
3–4 minutes |
| Dramatic Play |
Hang costumes, place props in bins, fold fabric items |
3–5 minutes |
| Quiet |
Return books to front-facing display, fluff cushions |
1–2 minutes |
According to a 2020 classroom management study in the Journal of Early Childhood Research, classrooms where children participate in zone reset routines show approximately 25% higher material availability (items in correct locations) and 40% lower teacher prep time between activity periods.
What this means for your program: Design storage so reset routines are physically possible. If a shelf is too high for a child to return blocks, that shelf cannot be part of the reset routine. Label every storage location with a picture and word label.
Adapting Zone Plans for Different Classroom Shapes and Sizes
Not every classroom is a perfect rectangle. Here are common room shape challenges and solutions.
Long, narrow classroom (e.g., 12×40 feet):
-
Challenge: Single aisle creates bottleneck; far ends feel disconnected
-
Solution: Create two activity clusters with a central gathering zone. Place quiet zone at one end, active zone at the opposite end, and group zone in the middle for transition.
Square classroom (e.g., 25×25 feet):
-
Challenge: All zones equidistant from walls; natural sightline challenges
-
Solution: Use the center for the group gathering zone. Place active zones (blocks, dramatic play) in corners. Place quiet zones along walls nearest entrance.
L-shaped or irregular classroom:
-
Challenge: Blind corners block teacher sightlines
-
Solution: Place only quiet or teacher-directed zones in the leg of the L (where supervision is easier). Never place high-traffic or active zones around blind corners.
Small classroom (under 500 square feet):
-
Challenge: Cannot accommodate all eight zones
-
Solution: Combine compatible zones with time-sharing. Example: Manipulatives shares space with Quiet in the morning; same space becomes Art in the afternoon. Use rolling storage or foldable tables for quick reconfiguration.
For programs facing space constraints, detailed planning resources are available to support your facility decisions, including layout templates for non-rectangular rooms and small-space solutions.
From Zone Plan to Daily Operation
By now, you have a comprehensive framework for learning zone planning. You understand which zones your program needs, how to place them compatibly, how to define boundaries without walls, and what furniture each zone requires. You also know how to support movement between zones and reset routines that keep materials organized.
Before implementing your zone plan, test it on paper for one week of simulated use:
-
Walk your drawing through a typical morning: where do children go first? second?
-
Identify every point where a child must cross an incompatible zone to reach their destination
-
Verify that every zone has clear boundaries children can understand
-
Confirm that reset routines are physically possible with your storage configuration
With these factors validated, you can confidently arrange your classroom — or request furniture that matches your zone specifications.
For programs ready to move from planning to procurement, several furniture collections are designed specifically to support learning zone configurations and can be reviewed against your finalized zone plan.
Related Reading