The phone call came from a director who had just received her licensing inspection report. Her classroom measured 480 square feet for twelve toddlers. The inspector noted that her current layout created "pinch points" where furniture blocked emergency exits and "dead zones" where children could not be seen from certain angles. She needed to reconfigure everything. But she had no idea where to start.
Her problem is not unusual. Many early childhood programs operate in spaces that were never designed as classrooms. Old storefronts, converted church basements, repurposed office buildings—all become learning environments out of necessity, not by design. The challenge is making them work.
The good news is that effective small classroom space planning follows predictable principles. You do not need a bigger room. You need a smarter arrangement.
Why Layout Affects Everything
Before talking about solutions, let me explain why layout matters so much.
According to research from the University of Salford's School of the Built Environment, classroom design—including furniture arrangement, color, and organization—can influence learning progress by up to 25% in a single academic year. The study identified spatial layout as one of the most significant factors, particularly for younger children who rely on physical environment cues to understand expectations and boundaries.
A poorly designed layout creates real problems. Teachers cannot see all children at once, increasing supervision gaps. Pathways become blocked, causing collisions and frustration. Activity zones bleed into each other, making it hard for children to focus. Storage is either inaccessible or in the way.
A well-designed layout does the opposite. Sightlines stay open. Traffic flows smoothly. Zones provide clear behavioral cues. Storage disappears into the edges, leaving the center open for movement and play.
One director described the difference this way: "Before we reorganized, I felt like I was always navigating around furniture. After, I felt like the room was working for me instead of against me."
Step One: Measure and Map
You cannot fix what you have not measured.
Start with a blank floor plan of your room. Include doors, windows, electrical outlets, heating vents, and any fixed features like columns or built-in sinks. Note the swing direction of every door. Mark where natural light enters at different times of day.
Then measure every piece of furniture you plan to keep. Record its footprint. Note whether it is mobile or fixed. This is tedious work, but it takes one hour and saves months of frustration.
Many directors skip this step and start pushing furniture around. That approach almost always fails because you cannot see the full picture when you are standing in the middle of the room.
A facility manager who has reconfigured over twenty classrooms shared her method: "I use graph paper. Each square equals six inches. I cut out paper shapes for every piece of furniture. I try arrangements on the table before I move anything in the room. It takes thirty minutes and saves me from moving a bookshelf four times."
Step Two: Zone the Room
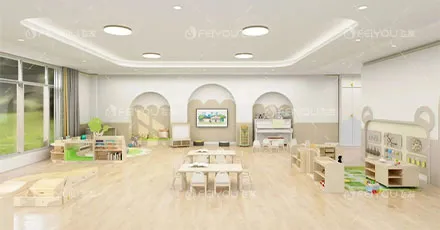
The most effective small classroom layouts use zones. Each zone has a specific purpose and contains only the furniture needed for that purpose.
Start with these standard zones.
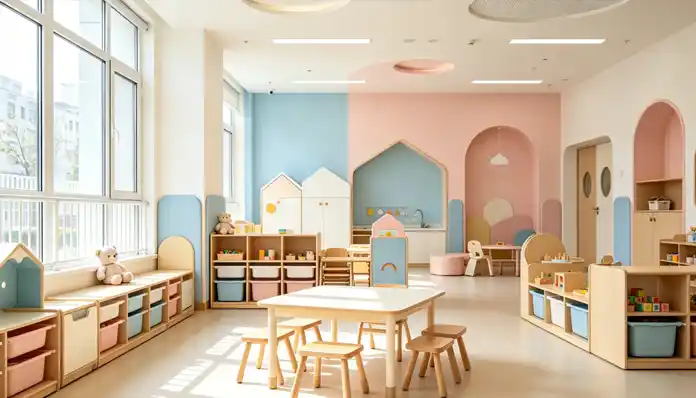
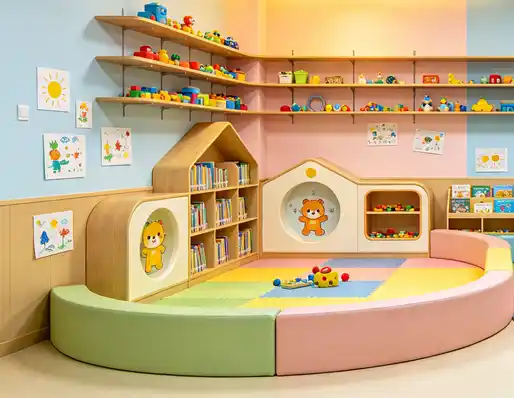
Quiet zone. This area is for reading, puzzles, and small group activities that require focus. Locate it away from doorways and active play areas. Soft surfaces like rugs and cushions help define the space. Low bookshelves with covers facing outward work well here. Natural light is beneficial but avoid placing the quiet zone directly in front of windows where outside distractions pull attention.
Active zone. This area is for blocks, building, dramatic play, and gross motor activities. It needs open floor space. Keep furniture at the perimeter. Children need room to spread out, build structures, and move around them. This zone works best near a wall where shelves can hold materials without obstructing the center.
Messy zone. This area is for art, sensory play, and water activities. It needs easy access to a sink if possible. Floors should be easy to clean. Tables with wipeable surfaces are essential. Locate this zone near the door if you have outdoor access—children can move messy projects outside.
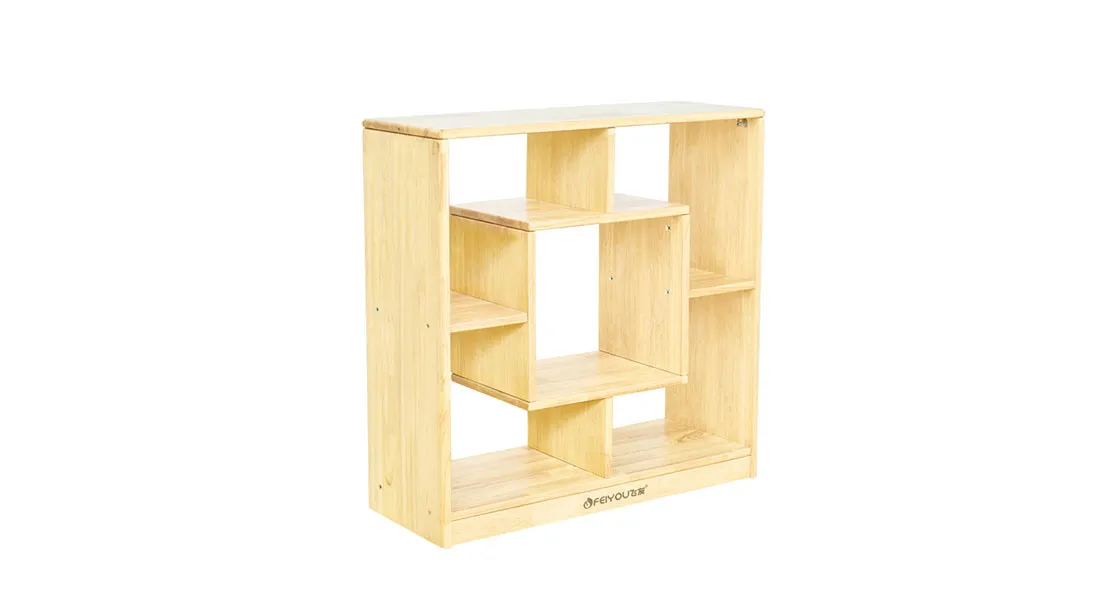
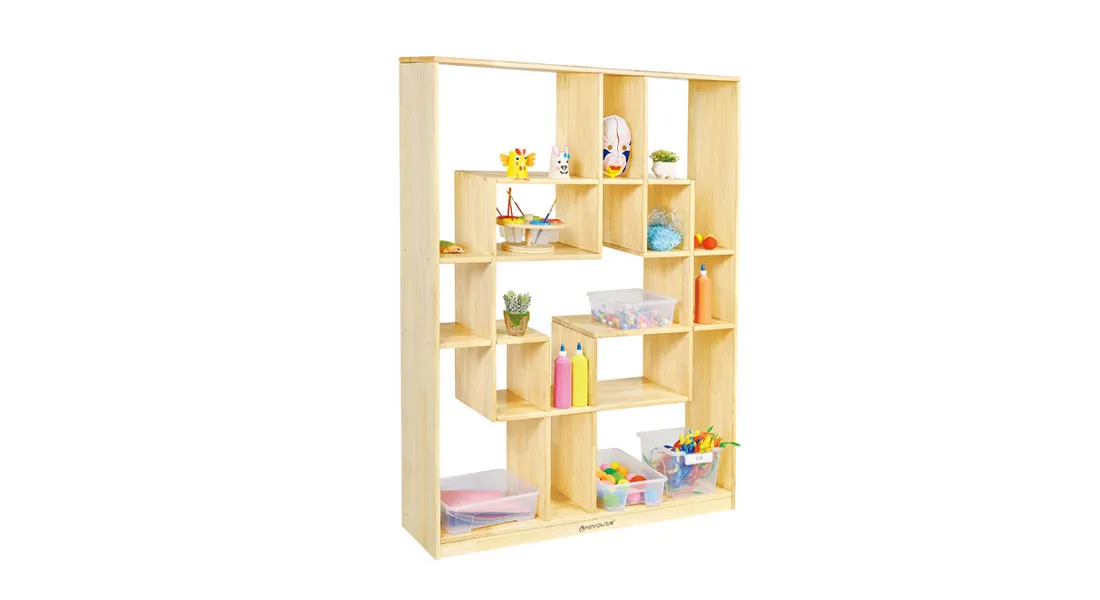
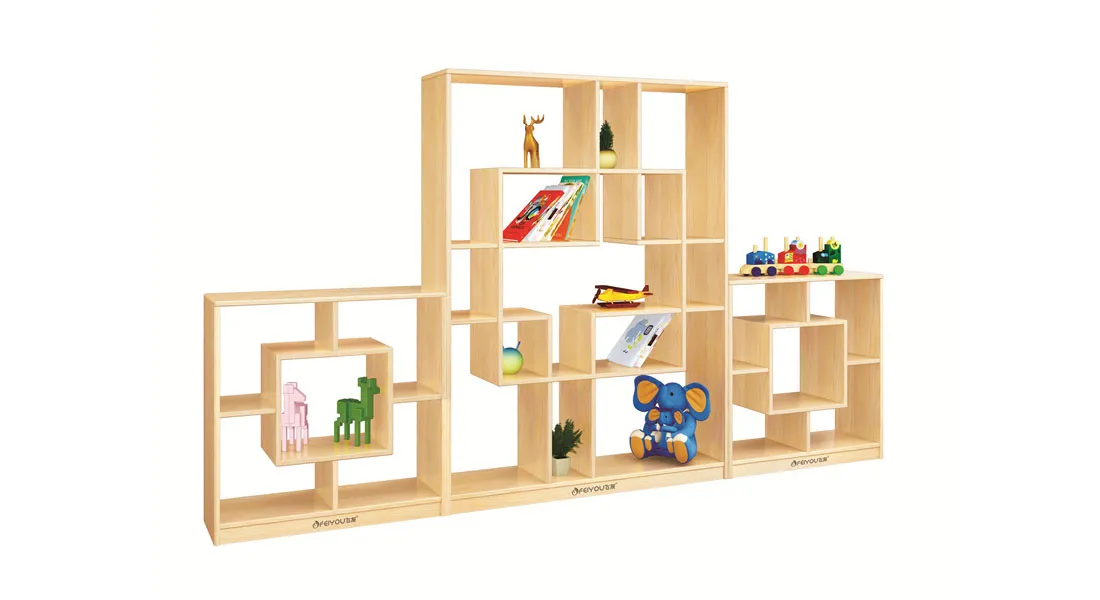
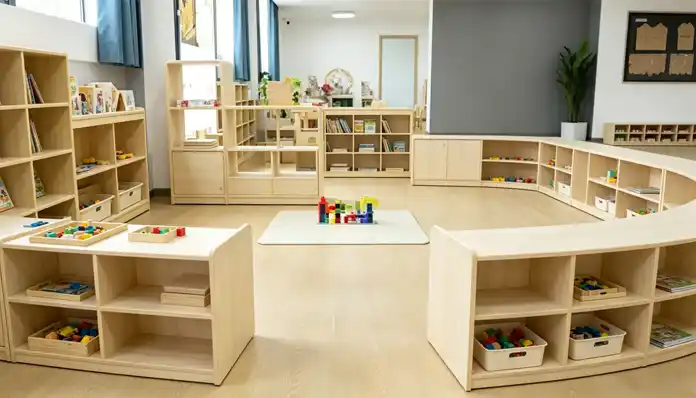
Storage zone. This area holds materials not currently in use. It can be along a wall, under windows, or even in hallways if space is tight. Vertical storage (tall but narrow shelving) works best in small classrooms because it uses height instead of floor space.
The zones do not need walls. Visual boundaries work fine—a low shelf, a rug, a change in floor color, or simply consistent furniture placement. The key is that children and teachers understand where each activity belongs.
A director who uses zone-based layouts told me: "When we first zoned the room, I was skeptical. It felt like we were losing space because we were leaving open floor areas. But the children actually used the room more because they knew where to go for each activity."
Step Three: Clear the Pathways
The most common mistake in small classrooms is furniture placed in the middle of traffic routes.
Every pathway in your classroom should be at least 24 inches wide for one child or adult to pass comfortably. Main pathways (to the door, to the sink, to the bathroom) need 36 inches. This is not optional—it is a licensing requirement in most states.
Check every pathway by walking it yourself. Can you move from the door to the quiet zone without stepping around furniture? Can a teacher reach a child in the far corner without squeezing between shelves?
If not, move furniture to the perimeter. The center of a small classroom should be mostly open. Put storage against walls. Put tables in corners. Keep the middle for movement and flexible activities.
One simple trick: Push all furniture against walls except for one or two low shelves that serve as zone dividers. This instantly opens floor space. It feels counterintuitive because you want to use every inch, but empty floor space is not wasted—it is usable space for children.
Step Four: Choose Space-Saving Furniture
This is where specific product choices make a measurable difference.
Nesting tables stack completely under each other. A set of four occupies the footprint of one when nested. Pull them apart for small group work. Stack them back for floor activities. This single swap can free 20-30 square feet.
Wall-mounted storage uses zero floor space. Cabinets mounted above bookcases or at child height along walls hold supplies without stealing movement area. One director told me that adding wall-mounted cabinets gave her back 16 square feet of floor space—enough for a new activity zone.
Multi-function pieces combine purposes. A changing table that folds down from a wall unit serves as storage when not in use. A bookshelf with a flip-down table surface provides workspace without dedicated table footprint.
Mobile furniture on locking casters allows you to reconfigure layouts by the hour. Push storage units together for cleanup time. Pull them apart for center time. The ability to change layout based on activity doubles the usable function of fixed square footage.
For centers seeking compact classroom furniture solutions, explore the detailed specifications of space-efficient children's furniture here.
Step Five: Use Vertical Space
When floor space is tight, go up.
Low shelves (under 36 inches) are appropriate for child access. But above them, you can install upper cabinets (48-72 inches) for teacher storage. Seasonal materials, extra supplies, and bulk items live up high. Daily-use materials live down low.
Wall pockets hold books with covers facing outward. These take zero floor space and make books visible and accessible. Hang them at child height on empty wall sections.
Hanging storage uses ceiling space. Art drying racks suspended from the ceiling. Hooks for aprons or smocks. Even hanging planters contribute to a calm environment without consuming floor area.
One classroom I visited had 24 linear feet of wall space. The director added a second layer of shelving at 55 inches high across all 24 feet. She gained 48 linear feet of storage without losing a single square foot of floor space.
A Real Service Example
A small daycare program moved into a former retail space. The room was 380 square feet—tiny for eight toddlers. The director tried three different layouts before calling for help.
The solution combined several approaches. First, we measured and mapped. Second, we zoned the room into quiet, active, messy, and storage areas. Third, we cleared pathways by moving all tall furniture to the perimeter. Fourth, we replaced four individual tables with two sets of nesting tables. Fifth, we added wall-mounted cabinets above existing low shelves.
The result? The room felt twice as large. The director reported fewer behavior issues because children were not constantly bumping into each other. Teachers could see every child from any point in the room. The licensing inspector approved the new layout without a single citation.
This was not expensive. It was thoughtful.
Common Layout Mistakes to Avoid
Mistake one: pushing furniture against all four walls. This creates a "donut" layout with an empty center but no defined activity zones. Children tend to run in circles. Instead, push furniture against two or three walls and use low shelves as zone dividers.
Mistake two: blocking windows with tall furniture. Natural light reduces eyestrain and improves mood. Keep window areas open or use low furniture (under 30 inches) to preserve light penetration.
Mistake three: forgetting about supervision sightlines. From your primary standing position (typically near the door or sink), can you see every corner of the room? If not, rearrange or add low mirrors to eliminate blind spots.
Mistake four: crowding the entrance. The area near the door should be clear for arrivals, departures, and emergencies. No furniture within 36 inches of the door on either side.
The 30-Day Layout Test
Any new layout needs adjustment. Implement this testing process.
Week one: Observe. Where do children naturally congregate? Where do conflicts happen? Which zones are underused? Take notes.
Week two: Make small adjustments. Move one shelf six inches. Swap two activity locations. See what changes.
Week three: Evaluate. Ask your teaching team for feedback. What is working? What still feels wrong?
Week four: Decide. Either commit to the current layout or make one final round of changes.
A director who uses this process told me: "I used to think a good layout was something I designed once and lived with for years. Now I know it is something we tune continuously. Our room gets better every month because we watch and adjust."
When to Bring in Outside Help
Some spaces have unusual challenges that require professional input.
Extreme shapes. L-rooms, triangular rooms, spaces with load-bearing columns in the middle. These benefit from an experienced designer who has solved similar problems.
Very small spaces. Under 350 square feet for eight or more children. A professional may identify solutions you would not consider, like removing all tables and using floor-based activities exclusively.
Compliance concerns. If you have received licensing citations for layout issues, bring in help. The cost of consultation is lower than the cost of repeated violations.
For programs needing professional early childhood space planning assistance, review the full collection of adaptable classroom furniture solutions here.
The Bottom Line
Small classrooms do not have to feel small. The difference between a cramped room and a comfortable one is not square footage. It is how you use the square footage you have.
Measure. Zone. Clear pathways. Choose space-saving furniture. Use vertical space. Test and adjust.
The director from the opening story now runs a 450-square-foot toddler room that feels spacious. Parents comment on how open it feels. Children move freely between activities. She told me: "I wish I had known these principles years ago. I would have saved myself so much frustration."
You can start today with the room you already have.
For early childhood programs ready to maximize every square foot with purpose-designed furniture, explore the full range of space-optimized children's furniture here.