A daycare director once told me about a incident that still bothers her. A 22-month-old pulled up on a low bookshelf to reach a toy. The shelf was only 30 inches tall and seemed stable. But it tipped forward. The child fell backward and hit her head on the floor. No broken bones. But the director spent the next week reviewing safety protocols and wondering if she had missed something obvious.
According to the Consumer Product Safety Commission (CPSC), furniture tip-over incidents send approximately 2,300 children to emergency rooms every year. Between 2017 and 2019, there were an estimated 11,100 tip-over related injuries annually involving children under 18. The majority involved dressers, shelves, and bookcases.
The question every early childhood director needs to answer: Is your furniture designed to prevent this, or are you relying on luck?
Understanding Why Furniture Tips
Let me explain the basic physics. A piece of furniture tips forward when the force applied to its front edge creates enough leverage to shift its center of gravity beyond its base footprint.
Three factors determine tip risk.
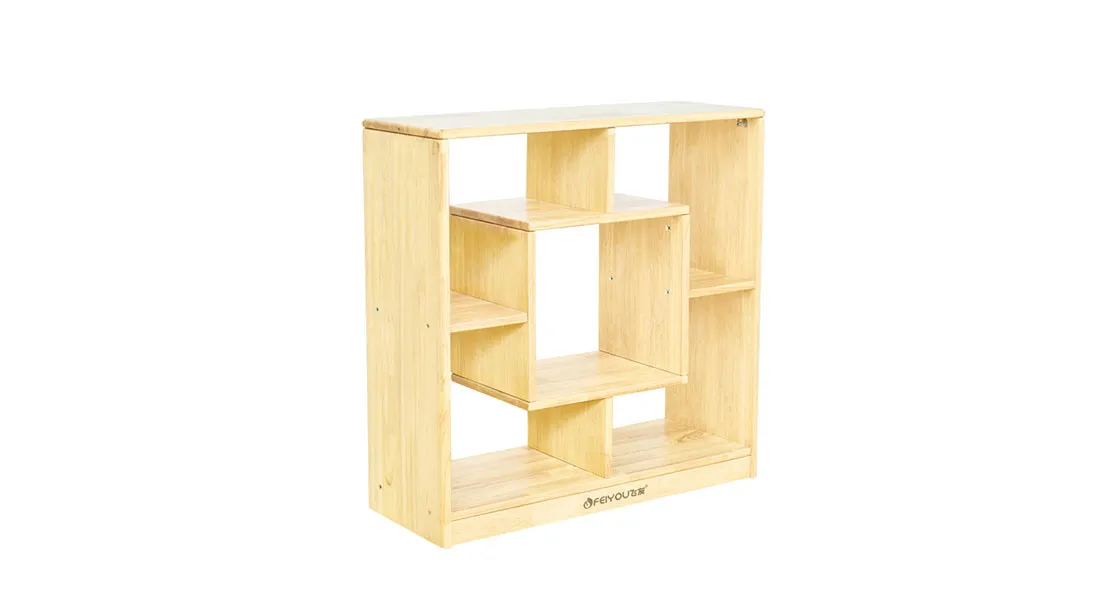
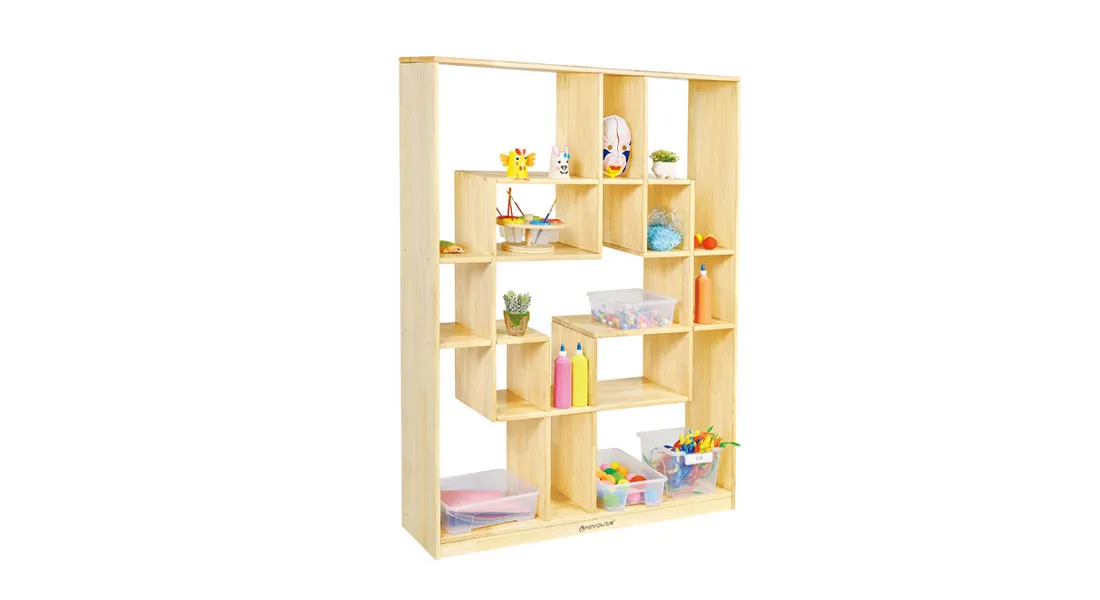
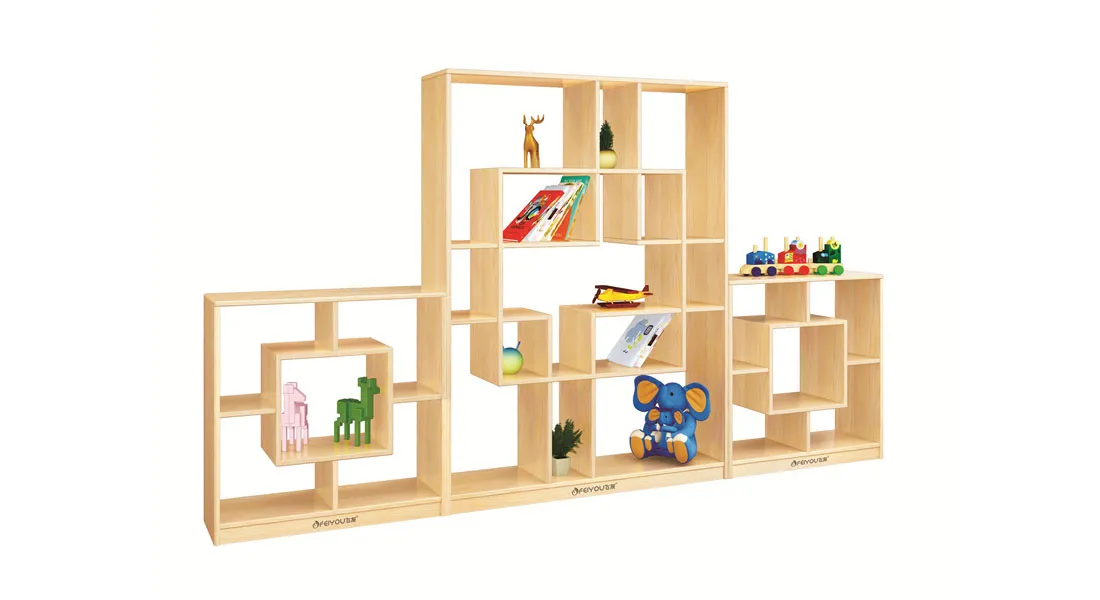
Factor one: height versus depth. A 48-inch-tall shelf that is only 12 inches deep has a narrow stability margin. A 36-inch-tall shelf with 16-inch depth is much harder to tip. The ratio matters. A depth of at least one-third the height is a common safety guideline among equipment suppliers.
Factor two: weight distribution. Furniture with heavy components at the bottom (solid wood bases, lower drawers) is more stable than pieces with uniform weight distribution. Top-heavy designs tip much more easily.
Factor three: anchoring. Even well-proportioned furniture can tip if pulled from an angle or during sudden movement. Wall anchors eliminate tip risk entirely by physically connecting the furniture to the building structure.
According to ASTM F3096-22, the standard for commercial children's furniture stability, tested pieces must withstand a 50-pound pull force at the top front edge without tipping. This simulates a child pulling up or climbing on the furniture.
The Two Main Prevention Approaches
There are two reliable ways to prevent tip-over accidents. Each has its place.
Approach one: freestanding with low center of gravity. Some furniture is engineered to be stable without wall attachment. These pieces have wide bases, heavy bottoms, and shallow depths relative to their height. A properly designed changing table, for example, might have a 20-inch depth but only 36-inch height, with storage drawers at the bottom adding weight low to the ground.
The limitation is that freestanding stability only works within certain height and depth ratios. A 60-inch shelf cannot be truly stable freestanding in a classroom with active children. Physics sets limits.
Approach two: anchored furniture. Wall anchors physically secure furniture to studs or concrete. This approach works for any height or depth. A properly anchored 72-inch cabinet is as safe as a 24-inch cube because the wall prevents forward movement entirely.
The CPSC recommends anchoring all furniture over 30 inches tall in spaces with young children. Many state licensing codes now require anchoring for any freestanding storage unit over 36 inches in early childhood settings.
A facility manager I spoke with put it simply: "We anchor everything over 30 inches. The brackets cost almost nothing. The labor takes five minutes per piece. Why would we skip it?"
Types of Anchoring Systems
Different anchoring methods offer different levels of security.
Stud-mounted L-brackets. These are the most common solution. A metal bracket attaches to the back of the furniture and to a wall stud using lag screws. Properly installed, these withstand hundreds of pounds of pull force. The limitation is that they require precise alignment between furniture and stud locations.
Continuous rail systems. A metal track mounts horizontally to wall studs. The furniture hangs on this track using hooks or brackets. This allows repositioning along the wall without drilling new holes. These systems work well for classrooms that reconfigure layouts seasonally.
Furniture-integrated anchors. Some manufacturers build anchoring points directly into the furniture frame during production. These are stronger than field-installed brackets because they attach to internal structural components rather than just the back panel.
Floor-mounted anchors. For furniture that cannot attach to walls (islands, room dividers, some shelving units), floor anchors provide an alternative. Bolts through the base into concrete or into wooden subflooring prevent tipping. The limitation is that floor anchors require access underneath or careful planning during installation.
One kindergarten director shared her experience: "We switched to continuous rails five years ago. Now we can rearrange our reading area every summer without drilling new holes. The furniture is still completely secure."
Common Installation Mistakes
Proper anchoring requires attention to detail. Here are the errors I see most often.
Mistake one: drywall anchors only. Plastic or metal drywall anchors are not strong enough for tip prevention. Under sudden pull force, they pull through the drywall. Every anti-tip anchor must go into a stud or concrete. There is no exception.
Mistake two: gap between furniture and wall. If the furniture sits more than half an inch from the wall, the leverage increases. The top of the furniture moves forward farther before the anchor engages. This multiplies stress on the anchor and can cause failure. Furniture should sit flush or within 0.5 inches of the wall.
Mistake three: loose screws. Wood compresses over time. Screws that were tight at installation can loosen after a few months. A quarterly check of all anchor screws takes 15 minutes and prevents gradual loosening.
Mistake four: anchoring through thin back panels. Some furniture has back panels made of thin particleboard or hardboard. Anchoring through this material is useless because the panel itself will tear. Proper anchors attach to the furniture's structural frame, not just the back cover.
A maintenance supervisor told me: "I check every anchor twice a year with a screwdriver. If any screw turns even a little, I add a second anchor point. I have never had a failure in twelve years."
How to Test Existing Furniture
Before purchasing new furniture, evaluate what you already have in your classroom.
The front pull test. Stand at the front of a piece at the top edge. Apply slow, steady pressure pulling toward you. Does the unit lift at the back? Does it slide? Does it tip? Any lifting or tipping indicates insufficient stability or anchoring.
The side pull test. Stand at the side corner of the unit. Pull horizontally at the top edge. Units are most vulnerable to side pulls because the footprint is narrower. This test is especially important for tall, narrow pieces.
The open drawer test. Open any drawer fully. Push down on the open drawer. Does the unit tip forward? A properly designed unit with low center of gravity and wide footprint should not tip even with all drawers open.
Perform these tests when children are not present. Do them at least once per year, ideally before each school year begins.
Real Service Example: A Small Center's Fix
A small daycare center had eight 42-inch-tall storage units in their toddler room. The units were solid wood and seemed stable. But during the front pull test, the units lifted noticeably at the back. The director was surprised.
The solution was straightforward. A handyman installed two L-brackets per unit, each screwed into wall studs. The total material cost was under $40. The labor took two hours.
Three years later, the director reported: "Not one unit has shifted. The brackets have held perfectly. I check them every six months and have never needed to tighten anything."
This is not a dramatic story. That is the point. Proper prevention is boring. It works quietly in the background, and nothing happens.

What to Look for When Buying New Furniture
When evaluating furniture for early childhood environments, ask these specific questions.
Does the manufacturer provide stability testing documentation? Request ASTM F3096 compliance data. Reputable suppliers can provide this.
What is the recommended anchoring method? Stud-mounted brackets, continuous rails, or integrated anchors? Avoid any product that suggests drywall anchors for tip prevention.
Are anchor points pre-marked or pre-drilled? Some manufacturers mark where to attach brackets. Better manufacturers install internal blocking at anchor points so screws have solid wood to grip.
What is the height to depth ratio? For freestanding use without anchors, depth should be at least one-third of height. For anything taller, plan on anchoring.
Are replacement brackets available? Some brands use proprietary brackets. If those break or are lost, you may not find replacements. Standardized hardware is easier to maintain.
For facilities seeking stability-tested classroom furniture with proper anchor points already designed into the frame, explore the detailed specifications of safety-certified children's furniture here.
Simple Prevention Routine
Even the best furniture requires basic ongoing attention. Implement this quarterly checklist.
-
Verify all anti-tip brackets remain tightly fastened to wall studs
-
Check that no gap has developed between furniture back and wall
-
Confirm that casters or feet are level (unit should not rock)
-
Inspect bracket screws for any loosening
-
Ensure children cannot access or see bracket hardware
-
Document inspection date and any actions taken
One director told me: "I combine this with our smoke detector checks. Every time we test the alarms, we check the furniture anchors. It takes ten extra minutes and covers two safety tasks at once."
When to Replace Rather Than Anchor
Not every piece of furniture is worth anchoring. Some should be replaced.
Particleboard furniture with damaged back panels. If the back panel is already cracked or soft, it will not hold an anchor. Replace it.
Furniture with missing or broken parts. Wobbly legs, loose shelves, or damaged frames indicate broader structural issues. Anchoring will not fix these.
Furniture that is simply too tall and narrow. A 60-inch-tall, 12-inch-deep shelf is unsafe even with anchors because the top could hit a child if tipped from the side. Replace with shorter, deeper pieces.
A facility director shared her rule: "If a piece makes me nervous before anchoring, I replace it. My gut feeling has been right every time."
The Bottom Line
Furniture tip-over is preventable. The engineering is straightforward. The hardware is inexpensive. The time required is minimal.
Yet every year, thousands of children go to emergency rooms for injuries that should not happen. The gap is not knowledge. The gap is action.
Child-safe furniture anchoring takes a few hours of planning and a small budget. The alternative is hoping that your luck holds.
The director from the opening story now anchors every piece over 30 inches tall. She told me: "I cannot undo what happened. But I can make sure it never happens again on my watch."
For early childhood programs ready to eliminate tip-over risk, review the full collection of safety-engineered classroom furniture here.